Convert an image to STL for 3D printing
Generate a 3D model from a photo, download STL, and open it in your slicer for scale, supports, and print setup.
Short answer
Upload a clear image, generate the 3D model, then download STL. Open the STL in your slicer to check scale, supports, wall thickness, and orientation before printing.
Best for
- 3D printing from photos
- Fast hobby prototypes
- Printable decor and toys
- Mesh export for slicers
Use a photo that gives the model enough information
AI reconstruction works best when the subject has a clean silhouette, visible depth, and enough contrast from the background.
- Use a single object with a clean outline and minimal background clutter.
- Avoid flat logos or drawings when you need full 3D depth; use a real object photo instead.
- Choose photos with visible sides, not only a perfectly flat front view.
- Use Precise quality for final prints with small surface details.
Workflow
Upload a clean image
Start with a JPG, PNG, or WebP where the object is large, sharp, and easy to separate from the background.
Generate the model
MakeIt3D reconstructs a textured 3D mesh from the image and lets you inspect it in the browser.
Download STL and prepare the print
Open the STL in your slicer, set the scale, inspect overhangs, add supports where needed, and export g-code.
Download formats
- STL
- Best for slicers and consumer 3D printers.
- OBJ
- Best when you want to repair or edit the mesh first.
- GLB
- Best when you want to preview or share the result online.
Example models



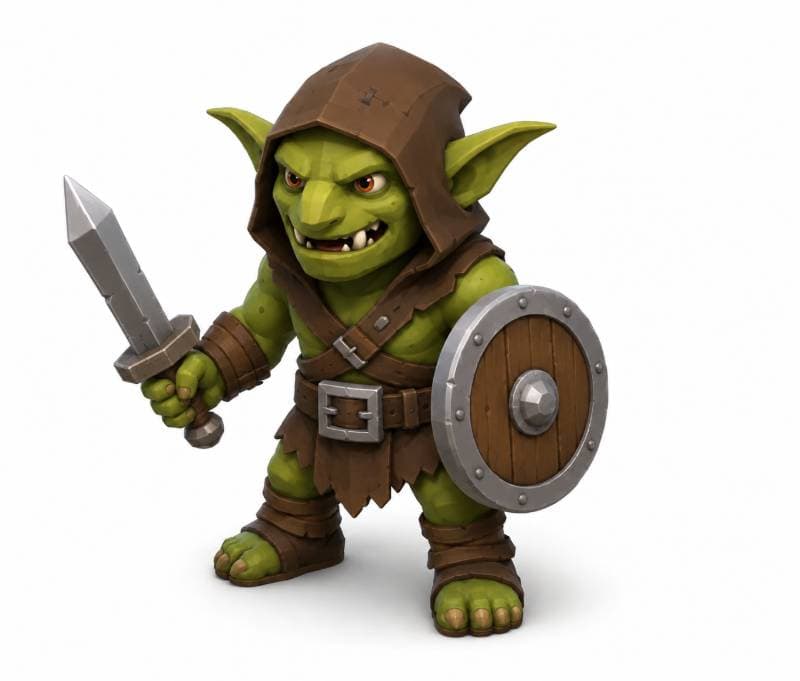
Made with MakeIt3D
Real models generated by people using the site — open one to rotate it and download the file.


FAQ
Can I convert a photo directly to STL?
Yes. MakeIt3D generates a 3D mesh from your photo and lets you download the result as an STL file for slicers.
Will every image make a printable STL?
No. Clear object photos work best. Flat artwork, transparent objects, reflective objects, or heavily occluded subjects may need cleanup.
Which slicers can open MakeIt3D STL files?
STL files can be opened in PrusaSlicer, Cura, Bambu Studio, OrcaSlicer, and most other consumer 3D printing slicers.